Hi Steve,
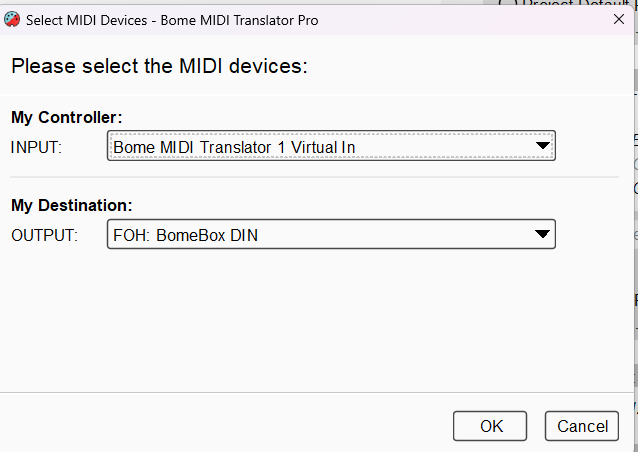
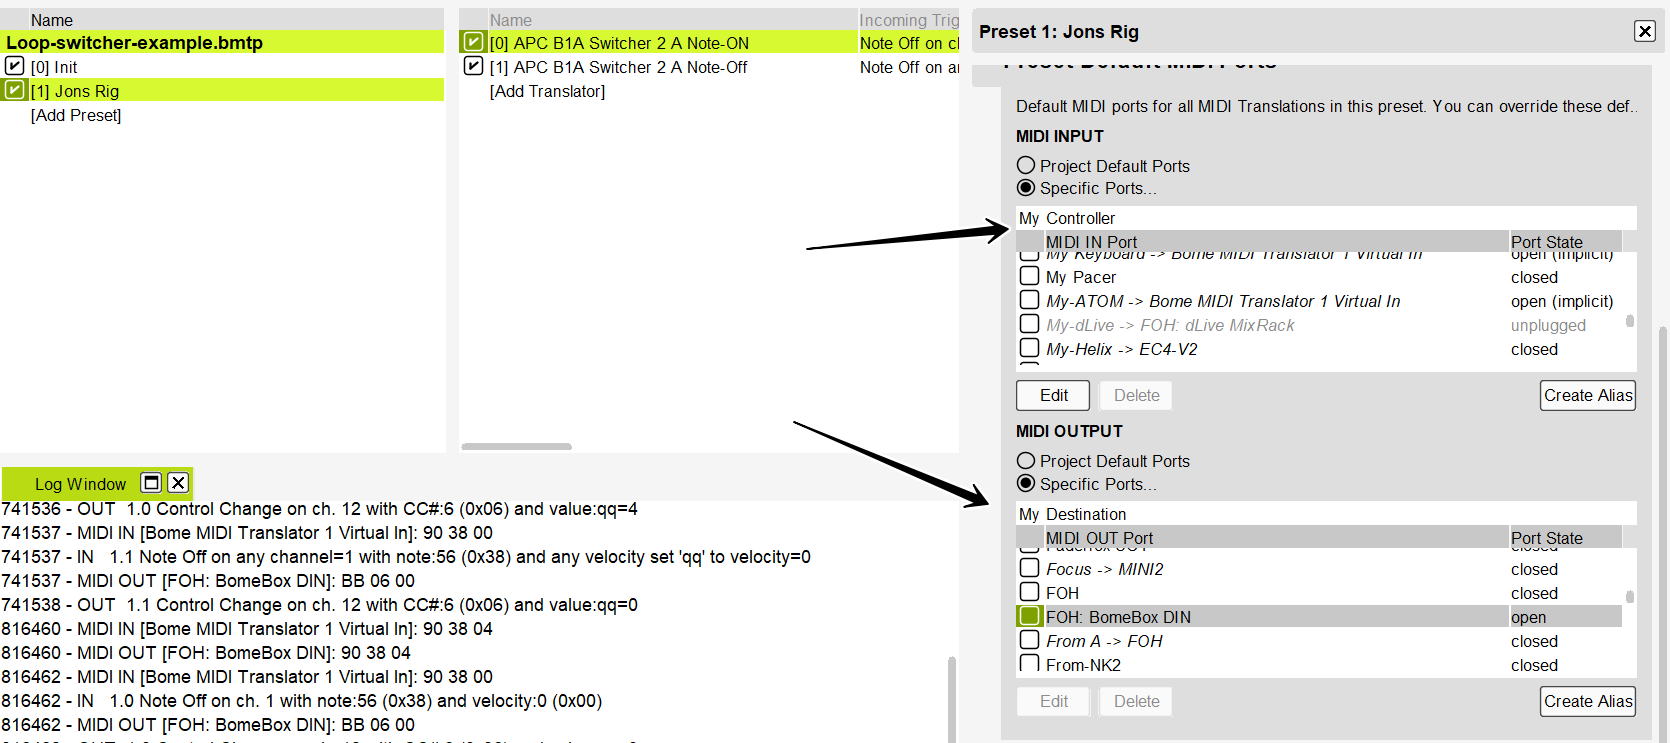
Ive made great progress with BomeBox and seem to have everything working using translators. I’ve started making the code more efficient and easier to maintain by not having to have specific Midi hex messages for each setup I require. Its a lot of midi to maintain and difficult to read. Ive also noticed that the midi seems to output to fast for the switcher, which doesn’t switch some switches when the BoneBox sends a large chunk of midi. I haven’t addressed this problem yet.
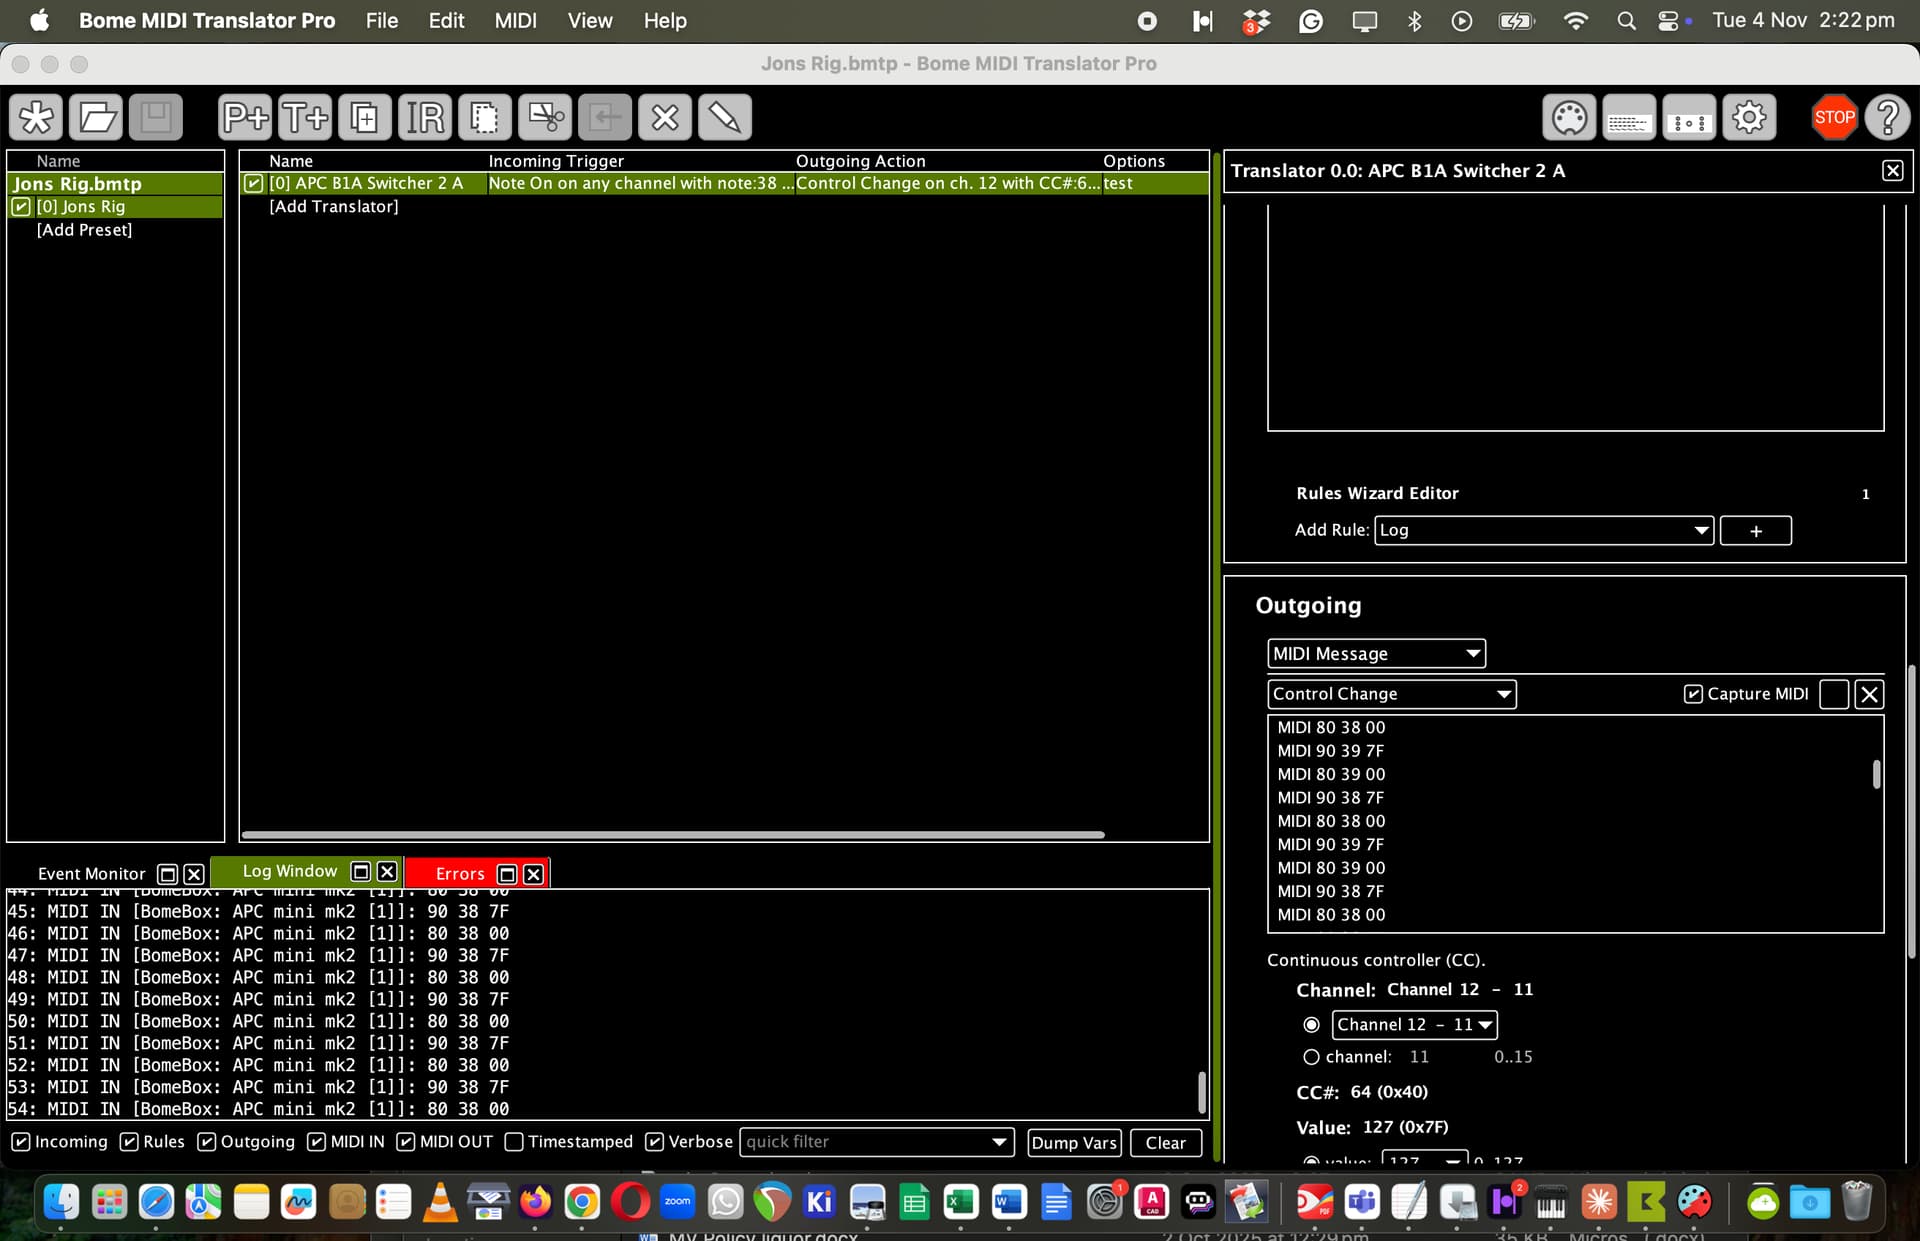
I’ve written this code to overcome the complexity issue, so I just have to change variables (g1-8, h1-8) in the translator header to create a new setup. However , when I pass the variable to the perform function with a midi message-Raw Midi outgoing function, the midi is not transmitted. The variables are set correctly and are valid in the translator. I know this through a LOG rule. Code is as follows:
// g0 to g8 are switch preset variables for channel 10 SW1
// h1 to h8 are switch preset variables for channel 11 SW 2
// lc counter 0-7
// lv passing variable for cc value
// sw 1-8
// mc channel 10 or 11
// zc Button color
// zb Button Number
g0=0
g1=1
g2=0
g3=1
g4=0
g5=1
g6=0
g7=1
g8=0
h1=0
h2=0
h3=0
h4=0
h5=0
h6=0
h7=0
h8=0
Label ‘Begin’
sw=1
lc=0
mc=10
zb=1
Label ‘Loop’
lc=lc+1
Log ‘In Loop. lc is %lc%’
if g1==1 then lv=1
else lv=127
if g1==1 then zc=4
else zc=2
zb=lc+48
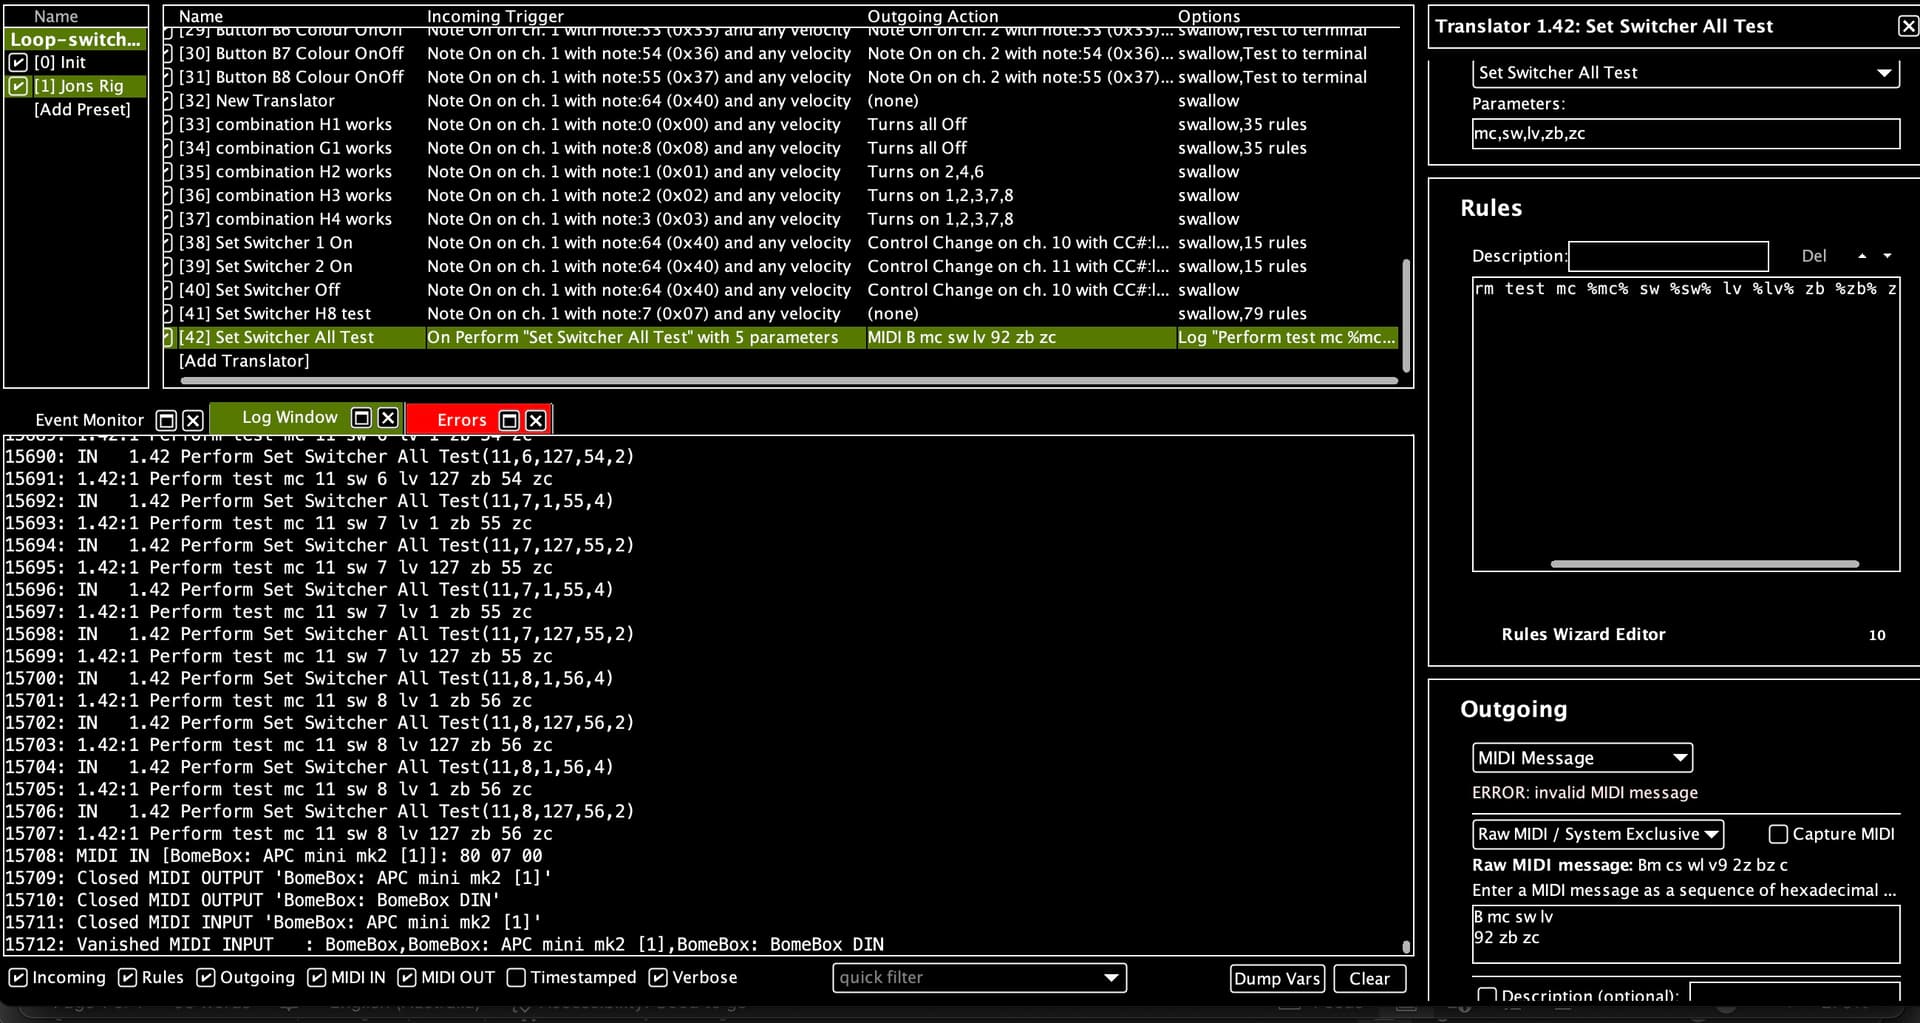
Perform ‘Set Switcher All Test’, mc, sw, lv, zb, zc
if g2==1 then lv=1
else lv=127
if g2==1 then zc=4
else zc=2
zb=lc+48
Perform ‘Set Switcher All Test’, mc, sw, lv, zb, zc
if g3==1 then lv=1
else lv=127
if g3==1 then zc=4
else zc=2
zb=lc+48
Perform ‘Set Switcher All Test’, mc, sw, lv, zb, zc
if g4==1 then lv=1
else lv=127
if g4==1 then zc=4
else zc=2
zb=lc+48
Perform ‘Set Switcher All Test’, mc, sw, lv, zb, zc
// Midi Channel, Sw No, cc value (on/Off), Button Number, Button Color
sw=sw+1
Log ‘lc is %lc%’
if lc<=7 then Goto ‘Loop’
else Goto ‘Second Pass’
Label ‘Second Pass’
lc=0
mc=mc+1
sw=1
if mc!=12 then Goto ‘Loop’
else Goto ‘Exit’
Label ‘Exit’
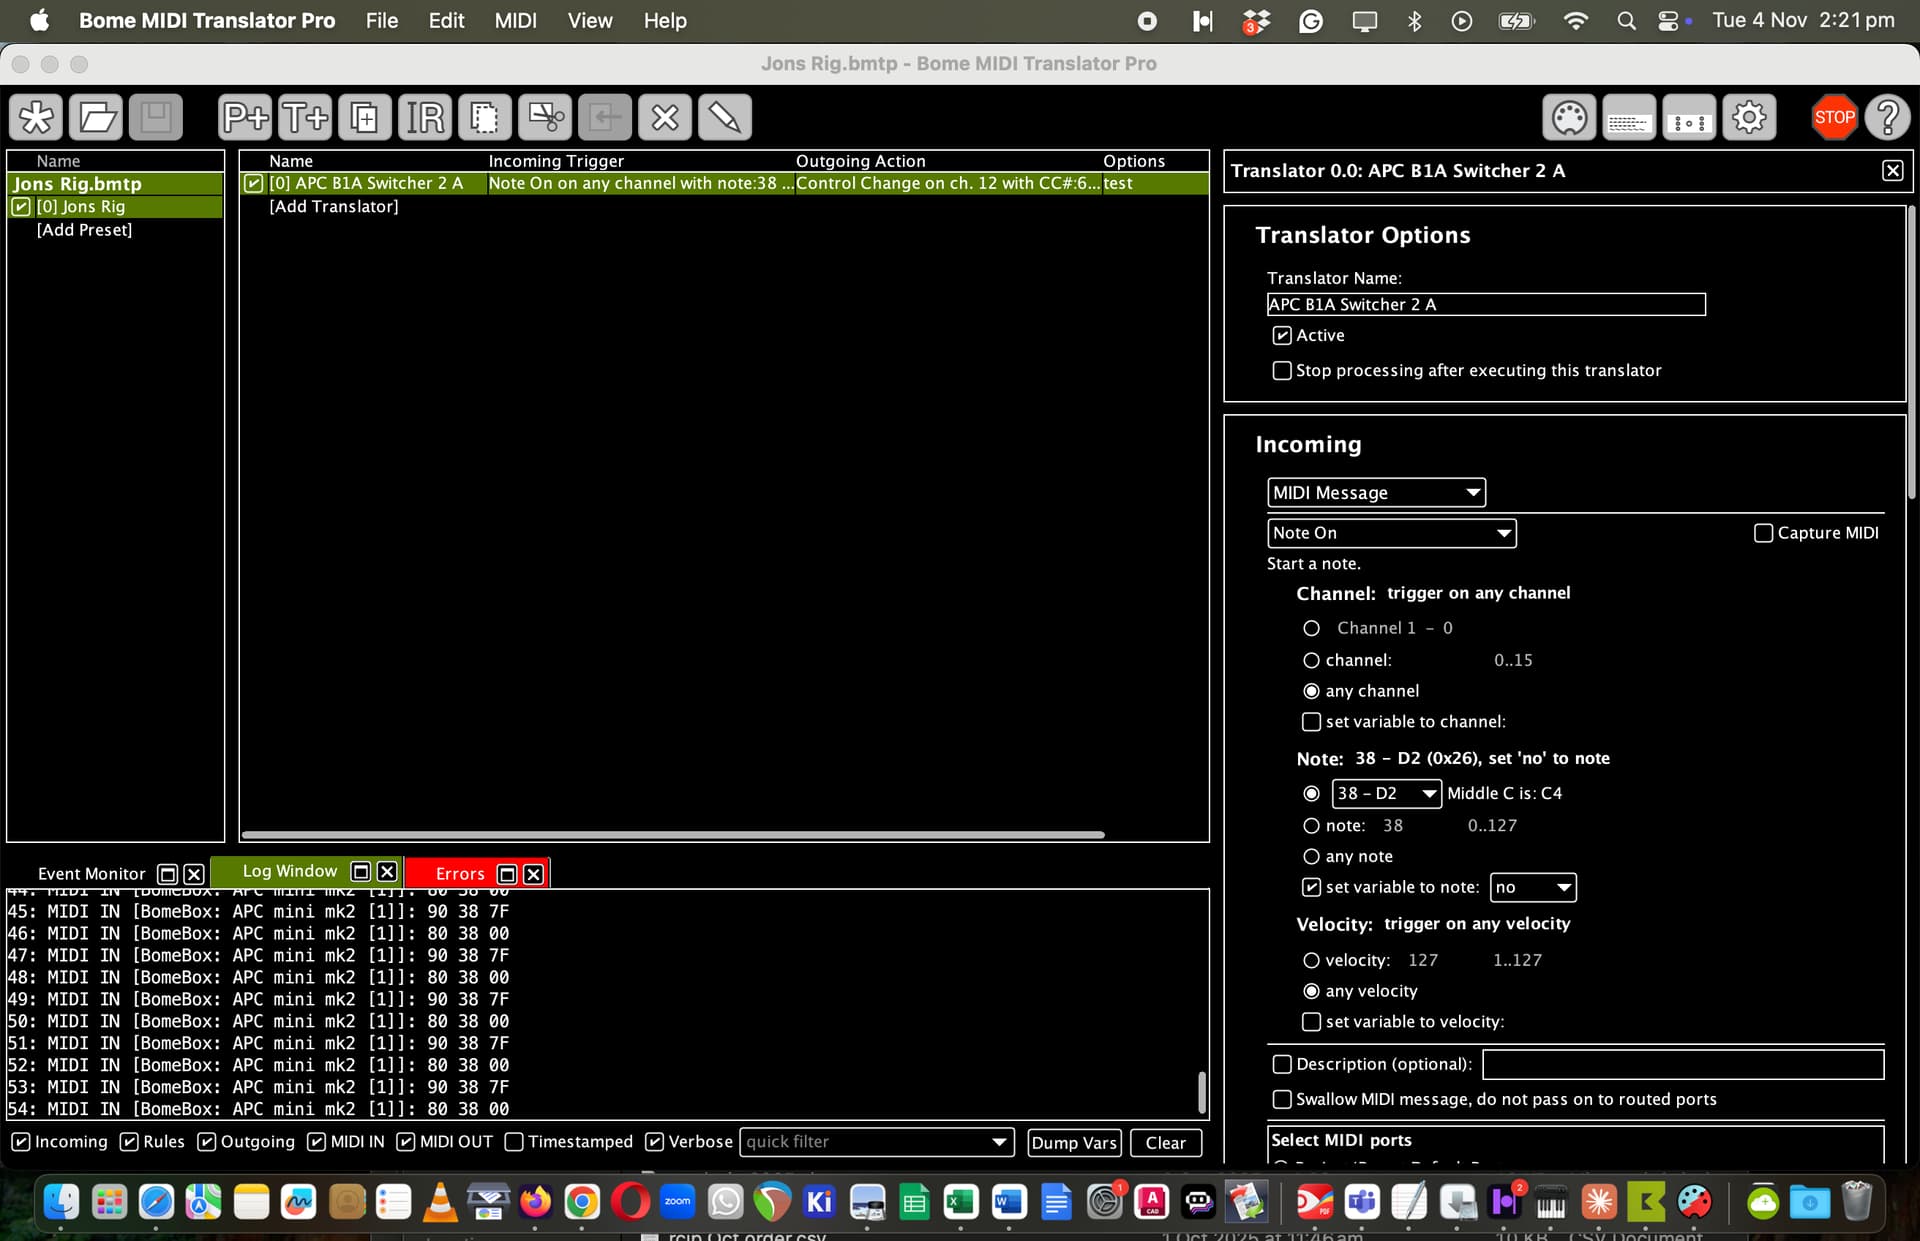
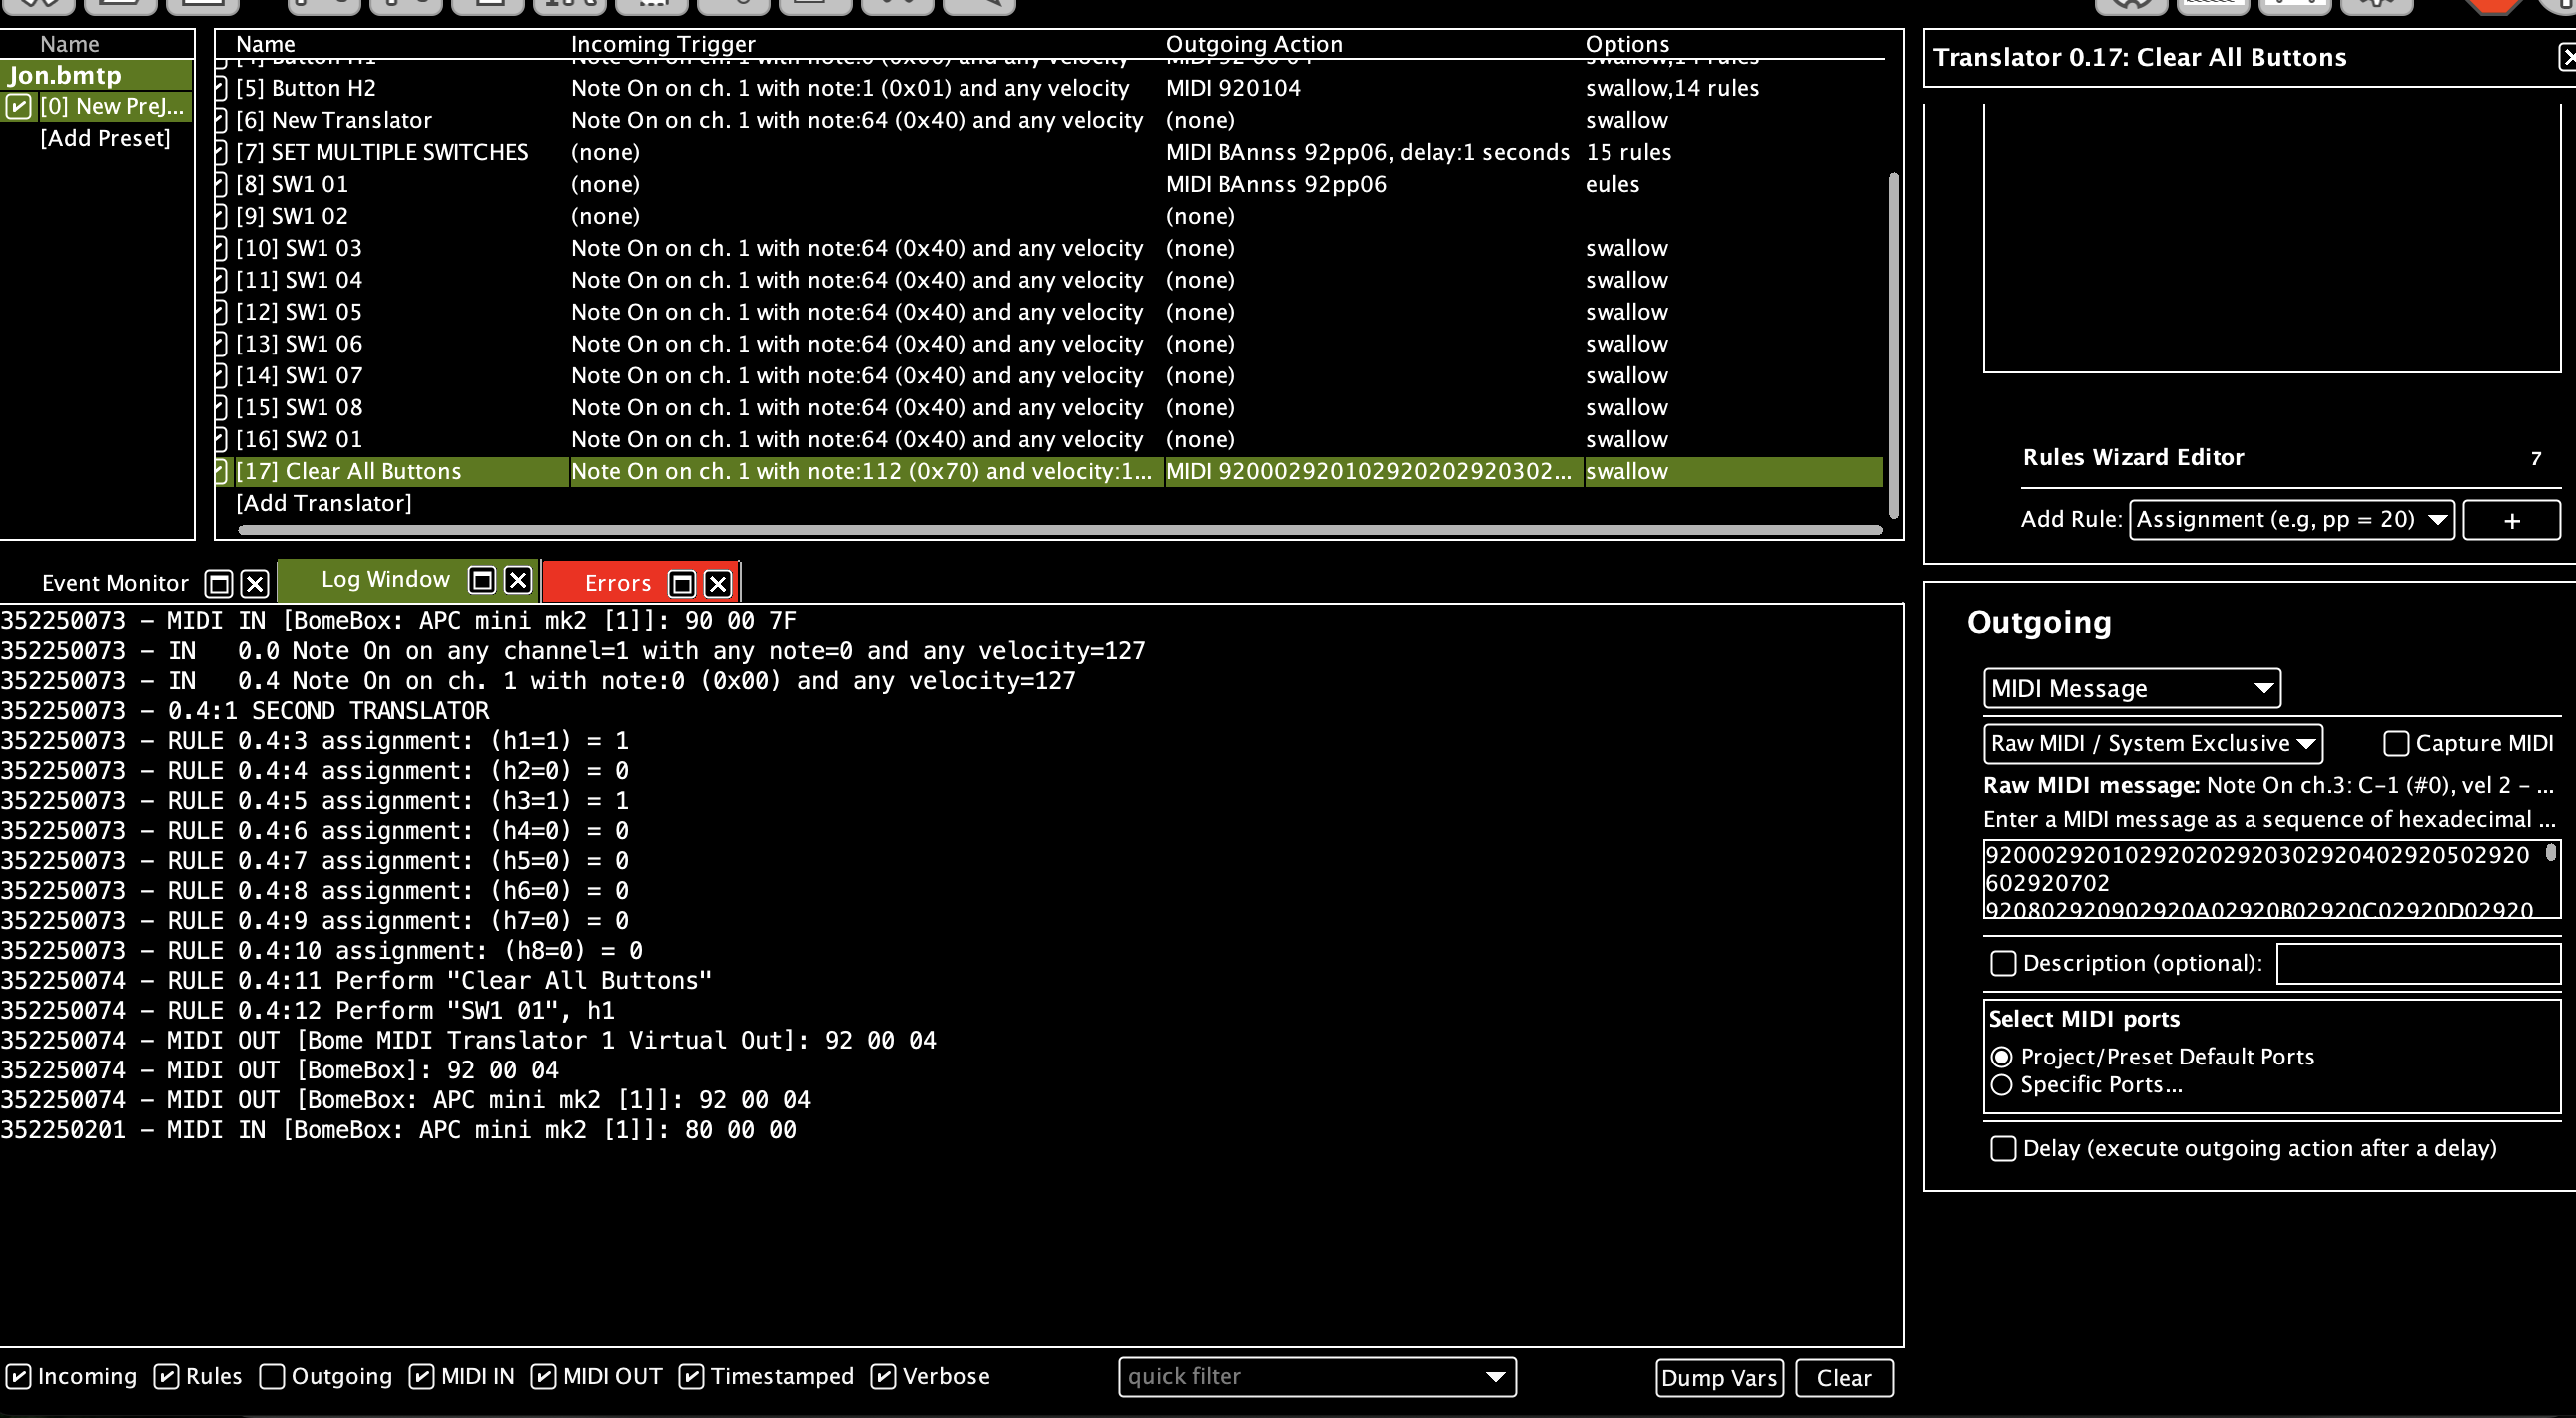
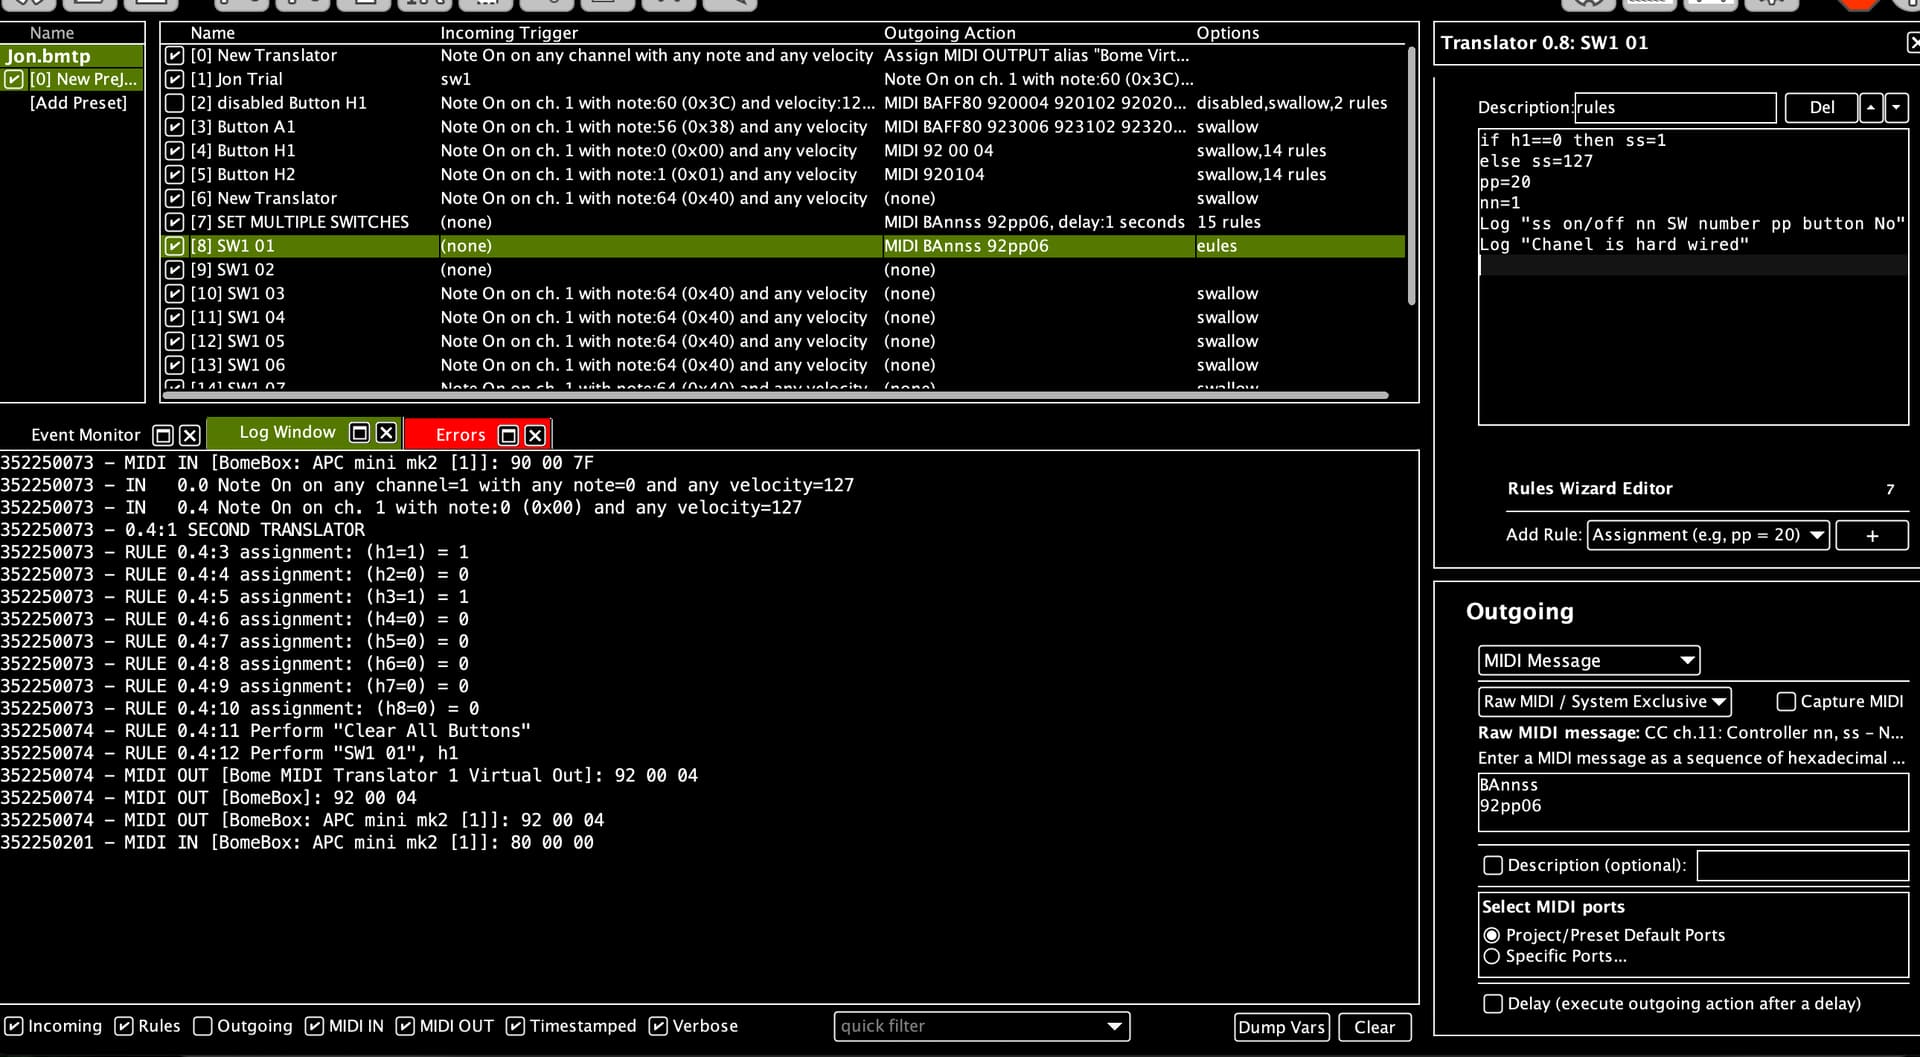
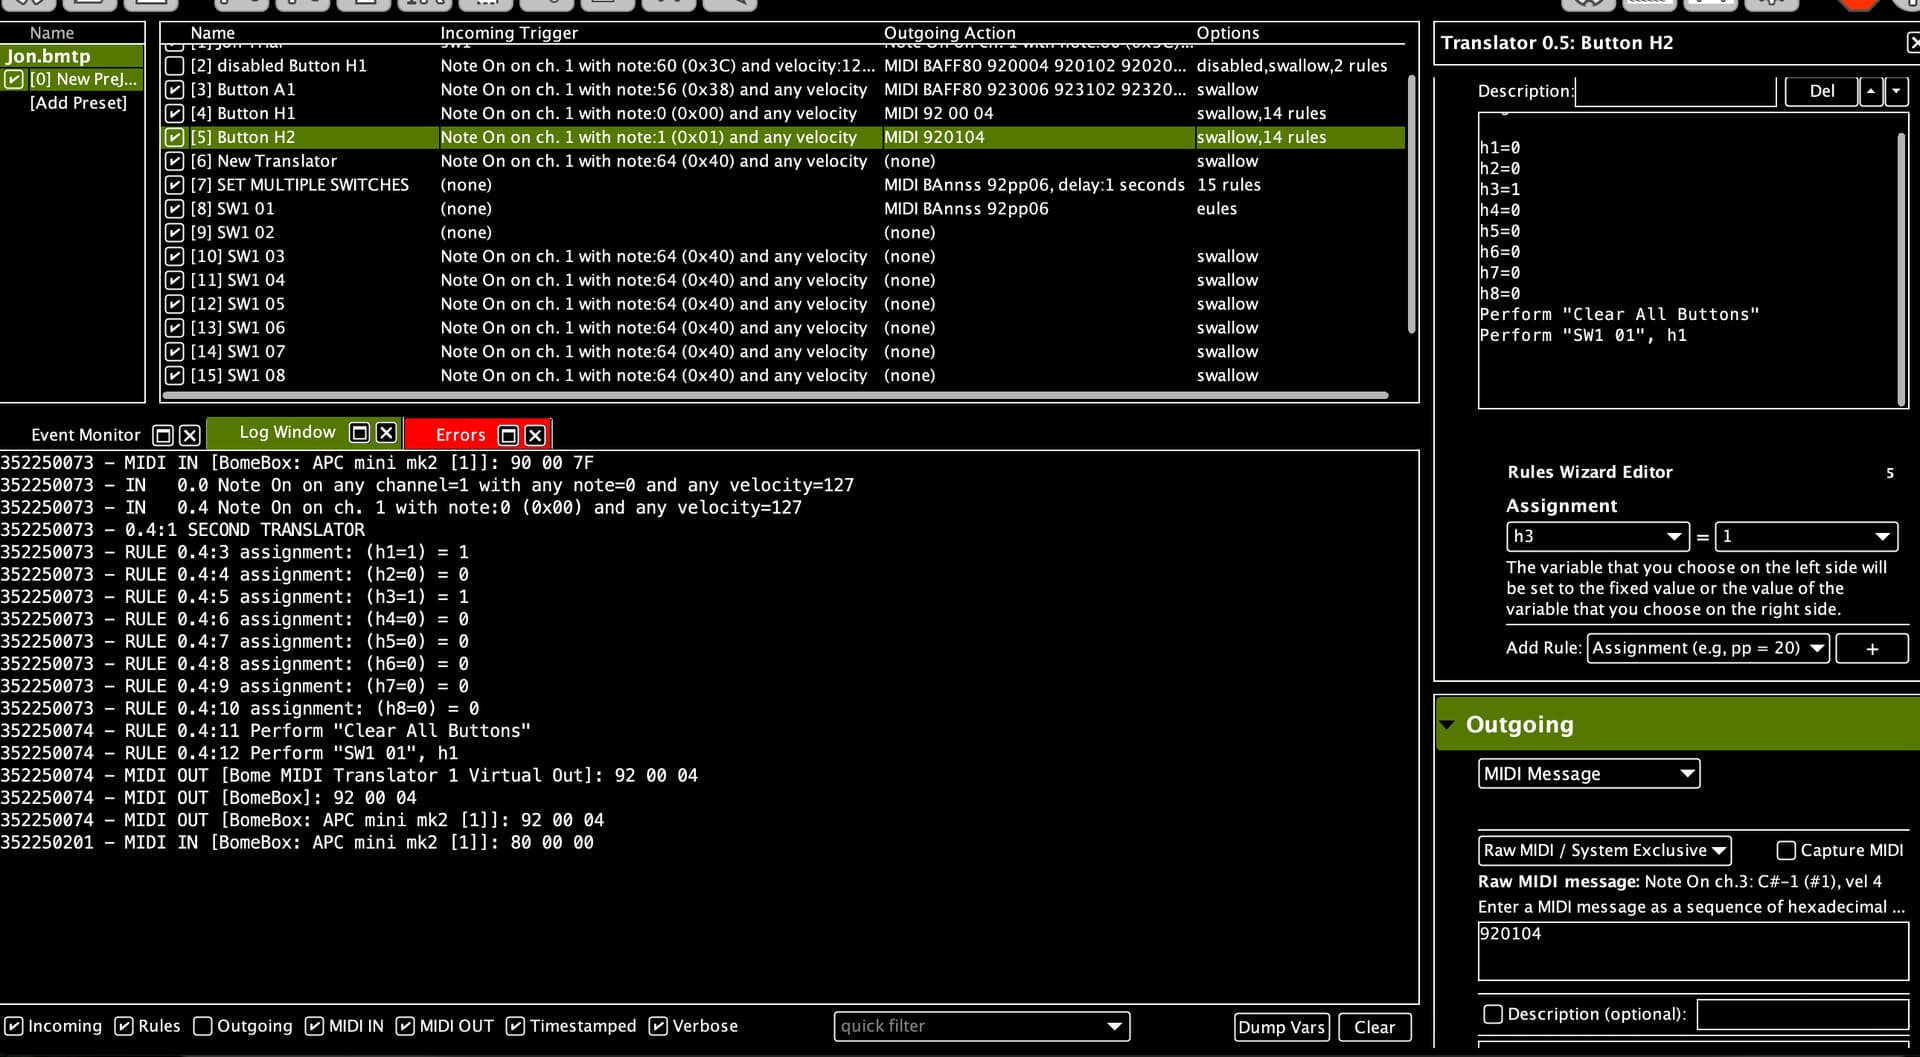
This is the translator called with perform above. The outgoing section doesn’t work. Please advise.
Regards, Jon